Want to be a gaming content creator but confused about how to use game record software? Don't worry, ApkVenue will teach you how to record games using XSplit Gamecaster.
Do you want to be a gaming content creator but don't know how to record your gameplay?
Even though you only need your desktop or smartphone capital, an internet connection, and a game recording application, you know.
Well, in this article, ApkVenue will discuss how to use a game recorder application for the desktop, namely XSplit Gamecaster.
Curious? So keep on reading Jaka's article below, okay?
How to Record Games Easily Using XSplit Gamecaster
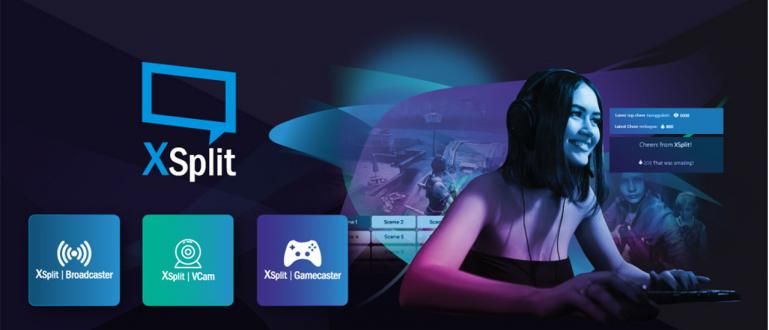
Among all game recording software that you can use to become a content creator, XSplit Gamecaster is one of the best.
XSplit operation is easier compared to OBS and Bandicam. Just pressing one button, you can record your game smoothly and without lag.
One of the advantages of XSplit Gamecaster is that you can edit your recorded game videos directly in the software without the need to use third-party software.
Without further ado, here's how to easily record games using XSplit Gamecaster. Check it out!
Step 1 - Download and Install XSplit Gamecaster Software
- You can download the XSplit Gamecaster software on the website or you can also directly download XSplit from the link that Jaka has provided below.
 XSplit Video & Audio Apps DOWNLOAD
 - Install the XSplit Gamecaster software on your desktop by following the instructions.
Step 2 - Create an XSplit Gamecaster Account
- If you have installed XSplit Gamecaster, then the first step you have to do is register an account to use this software.

- You can register with an account Twitter, Facebook, even account Steam. Jaka registers using the Steam account that Jaka has.

Enter your email to get an account activation link.
Open the link in your email to activate your XSplit Gamecaster account on your desktop.
Step 3 - Open XSplit Gamecaster Software
- Click Continue in the XSplit window to continue using the free version of the XSplit Gamecaster software. In the free version, you cannot access the premium features offered.

Step 4 - Setting XSplit Gamecaster Settings
- Select tab Settings on the main menu. In section Devices, select the tools you will use such as webcams and microphone to record.

- In section Game Capture, choose Record Settings. Record Settings will be set Automatic by default. You can customize the settings to your liking.

Click on Automatic to change it to Custom, then a new screen will appear.
choose Resolution to change the recording resolution to your liking. The higher the resolution you choose, the higher the recording quality will be. However, the bandwidth also becomes larger and your CPU will work harder.
choose Codec to set settings encoding that you use. In the default settings, you will choose the x264 option automatically. If you use a VGA Card, you can choose your VGA card to do it encoding.
On settings Frame Rate, you can set the recording FPS settings you want. Unfortunately, you can only record at 60 FPS if you don't have an XSplit Gamecaster premium license.
choose Quality to set how high you want the recording quality to be. There are 4 quality options, namely Standard, High, Very High, and Ultra High.
For the record, high quality recording requires a large space and the best VGA card. You will not get the best results if you only use Codecs with options x264.
Split Files useful if you want to split your recording into several smaller videos. You can set the maximum size of the recording to be split.
Check the box Create Multitrack Recording if you want to separate video and audio recordings. Use this option if you want to edit the recording further.
After setting the settings as you want, click Close to return to the main menu.

Step 5 - Recording Games with XSplit Gamecaster
Enter the game you want to record.
When you enter the game, press the button Shift + Tab on your keyboard to open the XSplit Gamecaster overlay.
Click Records to start recording the game. Press button Shift + Tab again on your keyboard to stop recording.

Step 6 - Locating Recording Files
Exit your game, then open the XSplit Gamecaster software again.
On the main menu, click on the tab Recordings in the right corner to access your recordings.
You can see the details of your recording, starting from the date, duration, format, size, and others.
You can also name the recording and upload it directly to YouTube, Twitter, or Facebook.

Step 7 - Done
You have successfully recorded the game using XSplit Gamecaster. How about it, gang? Very easy, right?
That's Jaka's article on how to easily record games on the desktop using XSplit Gamecaster. Hopefully this article can help you, gang.
See you in the next Jaka article!
Also read articles about Game Record or other interesting articles from Prameswara Padmanaba